How To Spool A Baitcaster: A Beginner’s Guide
Learning to spool a bait caster reel is not meant to be ignored. It’s my experience, of course. The craze for fishing I got from my father. As a new angler, he made me learn how to spool a baitcaster. Actually, once I tried to use a bait caster without learning key tips. You will be surprised by the results.
The result was confusion and backlash. I know you are facing the same problem right now. Currently, my experience says you must learn How to spool a baitcaster reel first. Keep in mind, the accuracy of the equipment and proper handling of the rod always bring optimum results.
Would you like to allow a baitcaster to offer you a big fish for a lavish lunch today?
Simply, consult our step-by-step guide on spooling a bait caster reel. As the next step, just go for practice daily. I bet you would not be disappointed with our strategy.
Are you ready? Okay, let’s move to the equipment list first.
EQUIPMENT LIST
The choice of equipment is the key point to focus on. Therefore, you must have all the equipment that is needed for a successful catch with zero backlashes. Failing to arrange proper equipment may lead to twists and tangles. Don’t worry, I have put all the equipment on the list. Just, have a look, please.
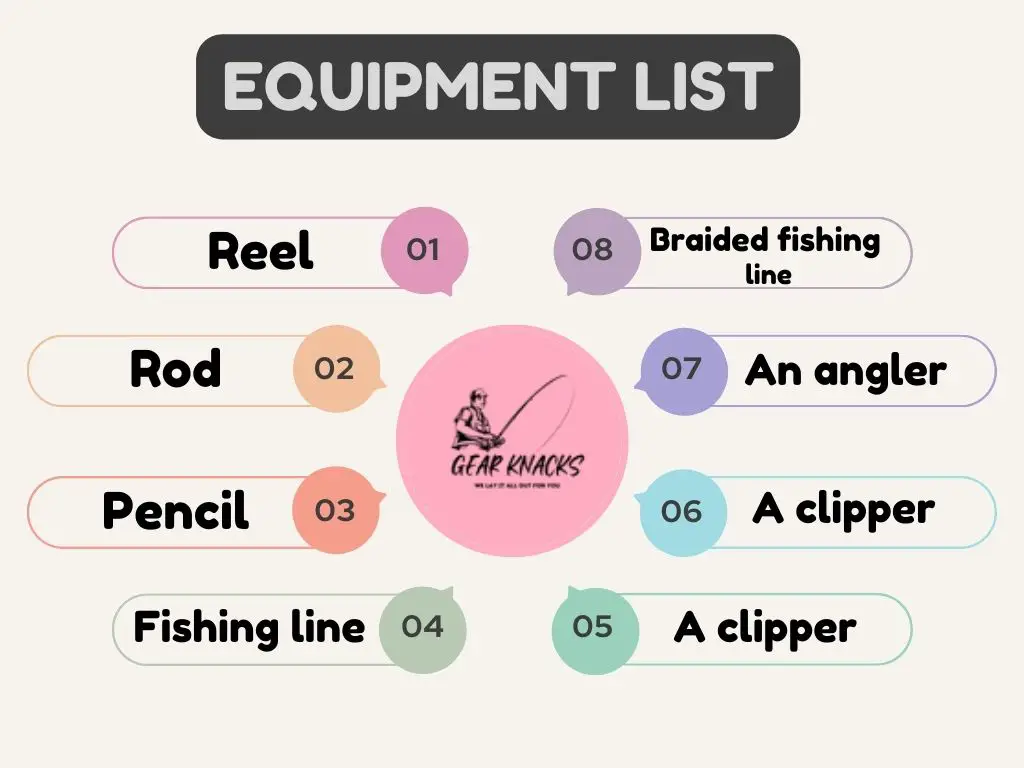
- Reel
- Rod
- Pencil
- Fishing line (monofilament)
- A clipper
- A clipper
- An angler as a partner
- Braided fishing line
Now, you have arranged everything in the list.
Well, it’s time to take a kick start. The below guidelines will let you know the accurate spooling of a bait caster. So, don’t pause and consult our guide.
Step-By-Step Guide
Now, double-check the availability of all the equipment. After satisfaction, you can go for the first step towards accurate spooling of the bait caster reel.
The Knot
The selection of knots depends on the line type used in the reel. You have a monofilament fishing line in the equipment list. So, prefer arbor knots for attachment.
Don’t worry, the arbor knot is too simple to tie. Add pressure to this knot and its tightness will alter only. Amazingly, the same knot has a role in the attachment of the braid to the spool. Does the spool lack a gripped surface?
Okay, go for mono backing for wonderful results. At this point, you must prefer a double uni knot. This knot is complicated and needs practice until perfection. Yet, it is low profile and stays fit with the mono backing. Apart from it, with this knot mono and braid stay in optimum alignment.
So, you can say goodbye to kinks. Yeah, it’s strong and feasible to use.
Loop the Line around the Reel Spool
Well done! You are following all the steps accurately. Now, it’s time to loop the Lind around the spool. Keep in mind, multiple reels offer holes that support you in threading and ensure line twists around the spool.
Oh! Your reel may lack this hole. Don’t worry! You can go for an alternative method in this case. Simply, push a pencil through the mid while feeding the fish line into the reel directly. Wait! The direction of the pencil should be upright for perfect wrapping. Plus, you can get the help of your fishing partner at this stage.
Please observe keenly. The line should come off the spool straight. If not so, you have not wrapped the line correctly around the spool.
Pinch the Line to Maintain Tension as You Reel
To prevent a loose loop, the best strategy is to introduce tension in the line. So, locate the reel front and pinch the line at this spot. This step will introduce tension and bypass loose loops.
Have you got it? Notice that- spooling braided line will not encounter any problem. On the other hand, monofilament and fluorocarbon fishing lines get scratched while applying tension.
Reel the Line in
You need to follow this step with zero ignorance of the tension. Keep the tension on the line and insert it into the reel. Make sure, the line should be at least ⅛” in the reel. At the same time, it should be inserted in the spool lip edge with the same length.
Be cautious! The frame should be safe and secure. Of course, you can ensure it by even spooling your line in the reel. In other cases, you have to spool a different line while following the above steps again.
Don’t Overfill The Spool
A common mistake that new anglers made is over spooling. Yes, you need to avoid this practice. To learn how to spool a baitcaster, always fill the spool with the reel at its optimum capacity. Overfilled spools don’t offer a successful catch and get tangled with the line. No doubt, inexperienced anglers feel satisfied with this practice but this feeling stays no longer when it hits the water.
Tie off a Lure or Hook to the End of the Line
Now, the need is to bypass the line inserted into the reel again. So, attach a lure or a hook to the end of the line. It will maintain tension, of course.
Brake System Adjustments
While spooling a baitcaster, you must have to go for brake system adjustment. Actually, this adjustment decides how fast the spool stops to release the line right after you cast a hook or lure.
Keep in mind, you must know the highest and lowest brake pressure. Yeah, the highest and the lowest brake pressure is 9 and 1, respectively. Well, are you interested in ensuring a steady fall?
You must go for a magnetic brake up to 1/Min.
Have you done it? Congratulations! The tension in the spool is successfully adjusted. Now, you should take a second step after adjusting the tension in the spool. Just, adjust the brake to the high (9/Max.). As a start-up, you can go for multiple casts. With this practice, you can set the brake in addition to the feeling of lure.
Are you new to fishing? Very well. I recommend you prefer the average range. Yes, the range for this magnetic setting will be between 5 and 7. At this point, I can feel you are curious to find out updates for faster cast in the extended range.
Okay, lower the brake and lose tension in the spool. The cast range will be increased with range.
After becoming an expert with time, you can go for enhanced distances within your range of comfort. Keep in mind, don’t go for lowering more than a limit. Actually, this may result in backlash.
So, I recommend you enjoy casting while keeping it in a medium range.
Drag System Adjustment
Before going for a drag system adjustment, you must know the task of the drag system. Do you agree? Actually, this adjustment decides the range of tension that needs to apply online during fighting the fish.
Housing adjacent to the handle, it has an external profile similar to a pinwheel.
Do you want to loosen?
Okay. Rotate the drag wheel backward. Alternatively, you can move it in the opposite direction for tightening purposes. This practice bypasses the line from giving during fish fights. Of course, losing it offers the opposite results. Yet, the angler should always apply some drag. So, the line would not slack under enhanced pressure.
Clap! We have a tip for you!
As an expert, I am happy to let you know that you should adjust the drag on the looser side when you want to enjoy small fish. Alternatively, you must try a tight end for a large fish.
SPOOLING BRAIDED LINE
Mostly, anglers prefer braided fishing lines. I know, you are wondering the reason. Actually, this kind of fishing line has a stretch-free design that is paired with an amazing power-to-diameter ratio. Yeah, the braided line is slick and too easy to deal with.
But, here is a drawback. The braid fishing line offers slippage, backlash, or drag issues. Therefore, you should go for monofilament backing before spooling the reel.
Now, have a kick start! First of all, the worm guide is needed to be filled with a monofilament line. Yes, you can, now, tie the backing to the spool. Don’t forget to twist it two times. Of course, this will offer you a clean and clear line.
Additionally, the overall performance will be better due to friction from the monofilament on the braided line. As a result, You can use a double-uni knot to join braided and monofilament lines. Have you done it?
Congratulations! You can go for a typical method to spool the line on the reel.
Frequently asked questions
Is mono or braid better for Baitcasters?
For bait caster, the braid fits best. Actually, the braid is malleable, soft, and offers zero memory. Yes, it doesn’t have a specific profile or shape.
When should you not use braided lines?
Generally, braided lines are a good option to start with. But, when you have to cast in the wind, avoid braided lines to bypass backlash and related problems.
Is it good to use a leader on a baitcaster?
While using a braided line, you must use a leader on a bait caster. The stronger braided line makes zero clear braids. Therefore, fish can notice it.
Why do you need backing on a baitcaster?
You need backing on the bait caster to bypass slippage.
What type of braid is good as a backing?
The braided line between 20 and 50 lb is best for backing the fly reel.
Final Words
It’s time to wind up our step-by-step guide on how to spool a bait caster. After reading this article, you must have an idea that perfect spooling a baitcaster is essential to avoid backlash.
Alternatively, you can say, it’s necessary to ensure a successful and smooth catch.
Generally, New anglers take this step for granted or skip the use of bait caster. As a result, they don’t get experts in fishing. You may have the plan to enjoy big fish this evening or need to enjoy fishing as a hobby.
How would you feel if encountered backlash again and again?
Is it not good to go for learning first?
I think it’s compulsory for every angler. I know, every fisherman has to face this problem. But trust me, practice is the solution to everything. So, practice until perfection and enjoy fishing as a hobby and dish as dinner.
In the end, I have put my effort into words in this article. From A to Z, every step is explained well which leads you to learn the successful spooling of a bait caster. Either you follow these steps or not. Now, it’s up to you. So, read my guidelines and never miss practice.
You will be an expert angler in the upcoming months.